As preparing a wall paint
As preparing a wall paint
As preparing a wall paint
Good preparation of the walls requires considerably more time than the painting itself, But is it worth it.
What has not been solved in these preparation steps will be impossible to remedy based paint layers.
Here is a brief inventory of the most common preparatory work will have to face before creating any decorative effect.
We find two types of surfaces on walls prepare:
a) Walls with paper
b) Paperless walls
In whatever your case the procedure applies to both, that is to say; if the wall go treated is type b. omitiréis then the process for the case a.
Below are the next step for:
As preparing a wall paint
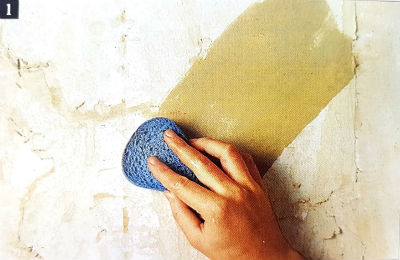
1.- Wetting old paper:
Sometimes it is possible to detach the dry paper lifting and pulling the lower ends.
But when the paper is adhered to and undertakes to use the spatula to detach, Maybe it's soaking in very hot water with a sponge or large brush, starting from the top to leave low-lying areas moistening, The wetter is the role, the easier it will detach.
2.- Remove the tail or temple:
It may be that the drench very old papers to detach from the wall, paste forms on its surface.
This may be due to excess glue or glutinous paint layers which are dissolved by water.
In that case, This coating will be removed more water, to which is added a little detergent.

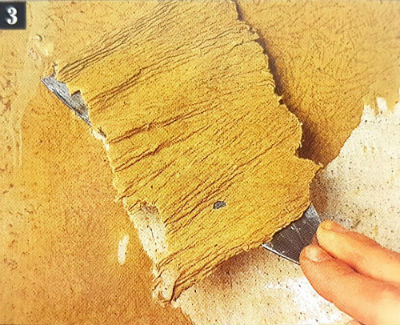
3.- Scratch paper with a spatula:
After having wet several times with hot water, You can begin to release paper using a spatula.
spatula should be applied diagonal, with the flat sheet so as to avoid possible to leave indentations in the plaster.
4.- Remove scraps of paper:
After starting the paper, shall be small finely adhered to the surface they remain plaster.
It is desirable to completely eliminate not mixed with new paint creating small chips or causing landslides layer color.
They can be easily removed by wetting them and passing on the edge of the rigid spatula.
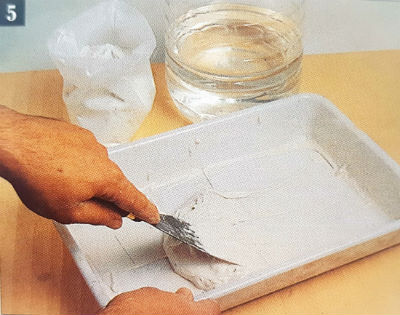
5.- Preparation of Putty:
Having broken off old paper, the present wall plaster cracks and chipped it must be covered with putty.
The filler powder should be prepared by mixing just under half liter of water per kilo of mastic, kneading the mixture well with a wide spatula and letting the mixture stand for 20 minutes.
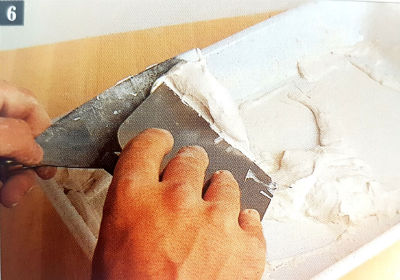
6.- Putty management:
To apply the putty in comfort; It is worked with a wide and rigid spatula and other square and flexible, called spatula putty.
In the first one a lot of putty allowed to work for a while in different parts of the wall without having to come back for more after each application to accumulate.
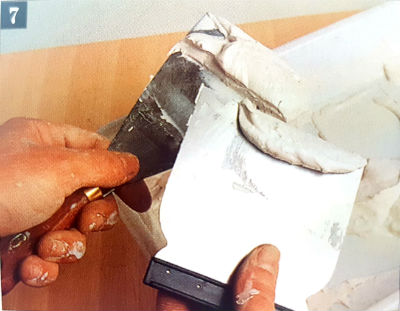
7.- Take the putty with flexible spatula:
Using the rigid spatula palette mode, You may be taking it with small portions of mastic spatula putty.
It is better to fall short to overdo the amount, because the holes and notches must never be blocked are too deep; if they were, putty would not be enough and would have to re-plastering.
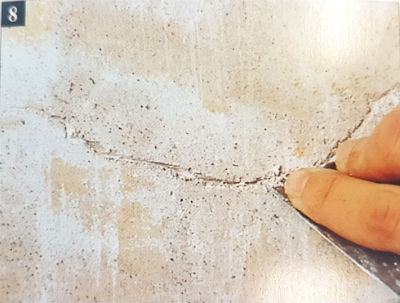
8.- Open grisettes:
To cover not too deep cracks, You are necessarily opened with the edge of the rigid spatula before putty to release all the unstable plaster, thus preventing the reopening.
But if they are grisettes due to structural problems or detachment layer of plaster, the puttying will not solve anything.
9.- I puttying:
It involves applying the paste on the grisettes, holes and slits passing over them flexible spatula loaded mastic.
If the hole or crack are pronounced, putty will sink slightly.
Instead of trying to fill the gap with additional, It is expected that this first coat to dry to give a second surface that equals.
10.- raided:
Immediately after applying the mastic should be passed the edge of the flexible spatula on that area to eliminate excessive burrs and smooth the surface of the wall.
That excess putty will be retained on the spatula and can be used again in another area of the wall.
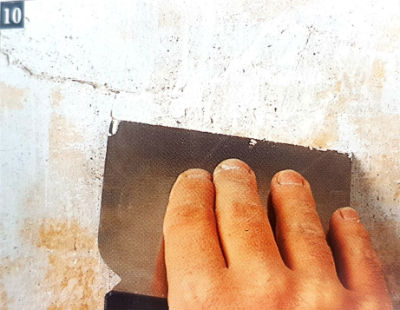
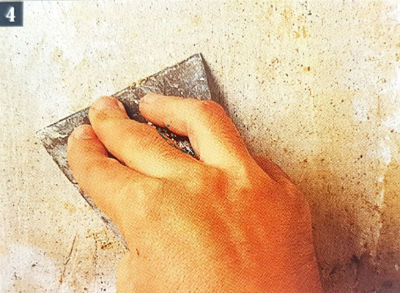
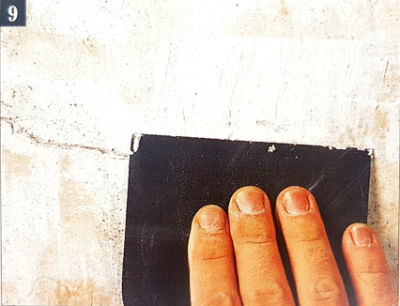
11.- sanding:
Once the putty is completely dry and we have ensured that there are small indentations to cover, We proceed to grinding the burrs spatula with a piece of medium grit sandpaper to smooth the entire surface.
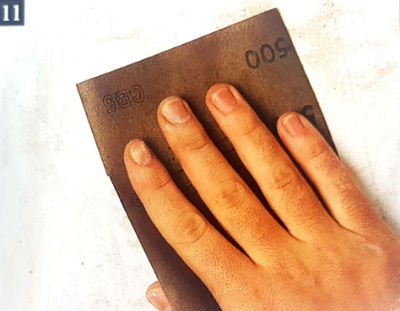
Sanding Varnish :
On wooden surfaces use a fine sandpaper block to sand between layers of varnish.
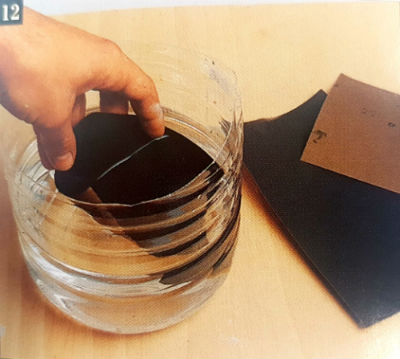
12.- Sanding water:
If a perfectly smooth finish is desired and tuned, no trace of any texture, Water sanding may be performed after conventional sanding.
Dogfish water are sheets of extremely fine emery paper to be soaked in water before use.
In the vast majority of cases this finish will not need.
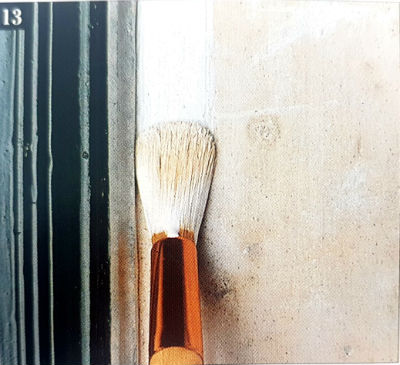
13.- Reservations and profiles:
Before you start painting, should ensure that the floors are covered (better protective coverall sheets or felt ) and that has been placed tape “painter” all frames around doors and windows to avoid paint stains.
done this, It begins to paint with a round brush, outlining all boundaries between walls and frames.
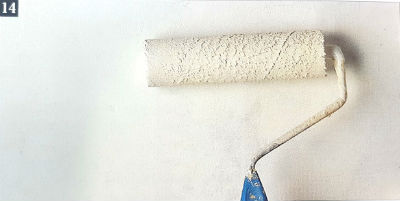
14.- Painted:
If you have decided to work with plastic paints, it is best to provide a first layer of white plastic paint that matches the tone of the wall and prevent the masilladas areas noticeable in the final finish.
If a foaming effect is projected, draped the color of transparency, You are given a second layer to the base resulting from a white perfectly uniform.
as preparing a wall paint.
We hope you have helped and liked it.!!
If you need the tools to paint walls and prepare visit: