Protective plastic paint. Characteristics and uses.
Protective plastic paint. Characteristics and uses.
Paint protection plastic has become a popular and effective solution to protect the surfaces of objects and vehicles during painting processes., renovation or repair. This versatile material offers a reliable layer of protection against spills., splashes and accidental damage. In this article, we will explore the main characteristics of paint protection plastic, its various uses and we will provide a guide on how to use it correctly.
Main characteristics of paint protection plastic
Paint protection plastic is generally made from high-density polyethylene (HAVE TO) or low density polyethylene (PEBD), both materials known for their durability and strength. These are some of the key features of paint protection plastic:
- Spill and splash resistance: Plastic paint guard is designed to resist paint spills, solvents and other liquids used in painting projects, which prevents these from leaking and damaging the surface being protected.
- Transparency: Paint protection plastic is usually transparent, allowing easy visibility of the surface being covered. This is especially useful when working in areas where you need to have a clear view of details or cut lines..
- Flexibility: This material is characterized by its flexibility., which facilitates its adaptation to different shapes and contours. It can be easily molded around objects with curved or irregular surfaces without losing its protective effectiveness..
- Tear resistance: Paint protection plastic is designed to be tear resistant, ensuring that it does not break easily during handling or use. This allows for a more secure and reliable application..
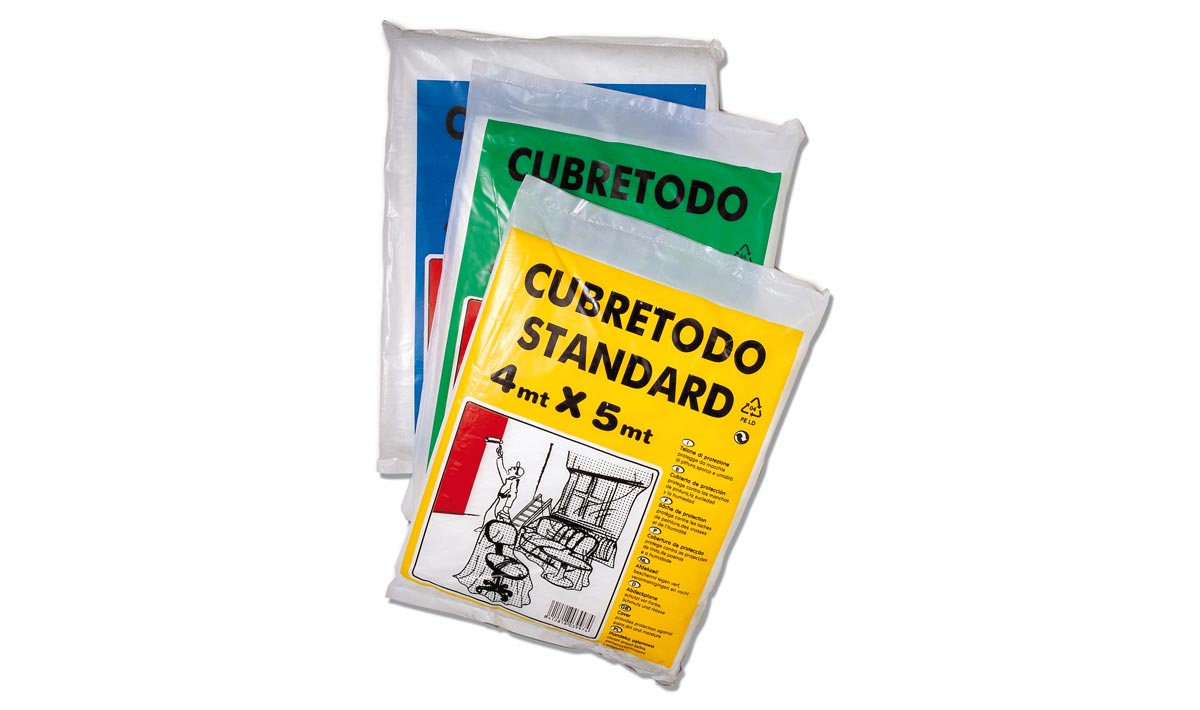
Types of paint protection plastics
- thick coverall plastic
- Thin coverall plastic
Uses of paint protection plastic
Paint protection plastic finds applications in a wide variety of sectors and projects. Here are some of the most common uses:
- car protection: Paint protection plastic is widely used in the automotive industry to cover parts of the vehicle that are not to be painted, like windshields, will do, frames, mirrors and interior panels. This helps prevent paint splatters and makes cleanup easier..
- interior renovation: During home or office renovation projects, paint protective plastic is used to cover furniture, floors, windows and other objects that could be affected by paint splashes or damaged by tools or materials used in the work.
- Painting of large surfaces: On projects that involve painting walls, ceilings or other large surfaces, paint protection plastic is used as a temporary protective layer to shield the surrounding area and prevent the spread of paint in unwanted places
Paint protection plastic guide
Then, Here is a step-by-step guide on how to use paint protection plastic effectively.:
- Preparation: Before beginning any painting project, make sure you have the proper protective plastic. Choose a clear, tear-resistant plastic roll that fits the dimensions of the surface you want to protect.
- surface cleaning: Make sure the surface is clean and dust free, dirt or grease. This will ensure a better adherence of the protective plastic and will prevent it from shifting or coming off during the painting process..
- measuring and cutting: Measure the required length of protective plastic and cut it with scissors or a sharp blade. It is advisable to leave an additional margin to ensure complete and safe coverage..
- Application: Unroll the protective plastic and place it gently on the surface to be protected. Make sure it is flat and wrinkle-free for even coverage. If required, use low tack tape on the edges of the plastic to hold it in place.
- adjustments and cuts: If the protective plastic is larger than the surface it is covering, carefully trim it with a utility knife so that it fits perfectly. Pay attention to contours and corners to make sure it fits correctly.
- Verification and tweaks: Inspect the covered surface to ensure there are no exposed areas or weak spots. If you find any unprotected space, apply more plastic or secure with additional tape.
- Carrying out the paint job: Once the protective plastic is correctly placed, you can get started on the paint job without worrying about splashes or accidental damage to unwanted areas. Remember to follow the specific instructions for the paint product you are using..
- Removal of protective plastic: Once you have completed the paint job and the surface is dry, carefully remove the protective plastic. Gently pull it from one end and avoid snapping it, as this could damage the freshly applied paint.
conclusions
Paint protection plastic is a versatile and practical tool that provides a reliable layer of protection during painting projects., renovation or repair. Its main features, such as spill and splash resistance, transparency, flexibility and tear resistance, make it an ideal option to preserve the quality and appearance of surfaces. Following the proper use guide, you will be able to take full advantage of the benefits of paint protection plastic and achieve professional results in your projects.